Everything looks better on a full stomach.
Why am I saying that? Well, I'm a little nervous, you see. I've entered a challenge on
Foodbuzz.com called
Project Food Blog.
There are 10 challenges to pass. Last I checked there were over 1,800 contestants and only 400 will advance to the 2nd Challenge. Grand prize is $10,000.00. (holy moly)
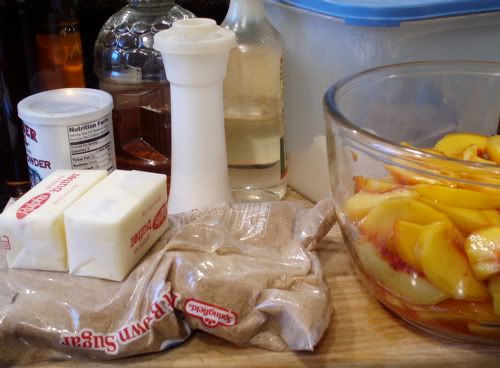
Nothing calms the nerves like good food. So lets start there, since that's what I'm all about.
During my resent visit to Alabama, we stayed a couple nights at my sister Jenifer's. This chick is on the go, non-stop. She has a husband, 2 young kids, a full-time job. Of course the kids have all there activities and school and church stuff....and you know, I can't figure out where she finds the time to breath, let alone make dinner. But she does. And she did while we were there.
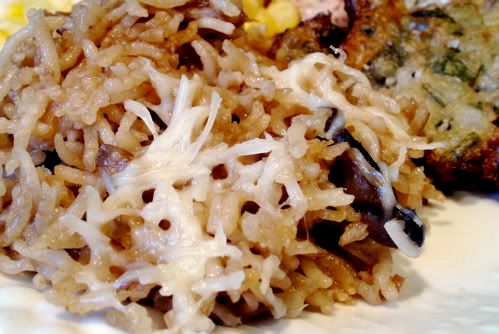
Bless her heart. And man was it GOOD!! One of the dishes she served is called Basmati Rice Risotto. And you know what? This is perfect for her kind of household. When you think Risotto...you think, standing still and calming stirring for endless minutes....HA!!! As if
thats going to happen and Jenifer's house! Nope....you mix it all together and plop it in the oven, turn on your timer and move on to the next thing.
That's how quickly things happen at her house. You blink an eye and you've missed a lot.
Did I mention there's also a dog? Ya...he's the baby of the family. His name is Bowden (yes, that name is football related.) and he's the cutest little...shoot....shit tzu? I can't remember. But I know that Jenifer saved this little guy's life. That's how much of a member he is to the family. Poor little Bowden had drown....who knows how long he'd been "gone", it had been several minutes.....but Jen, being the hero that she is, performed CPR on her children's beloved pet and rushed him to the vet. He survived and apparently is no worse for the wear. Well, there are some little things that make you wonder....is that normal? But then you remember who's house you're in and you realize.....there ain't nothin' normal goin' on, why should the dawg be any different?
Anyways...my point is, this risotto dish is fantastic. And it was introduced to me from a fantastic lady...my precious sister...."Flerd" (don't ask).
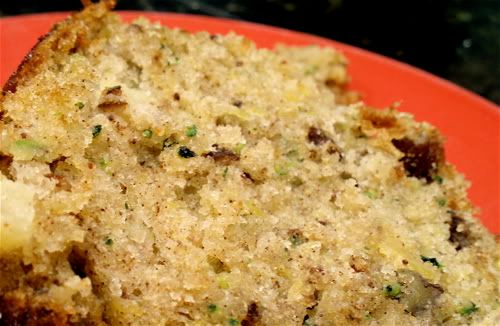
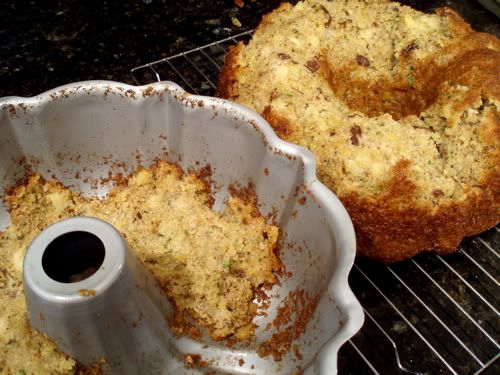
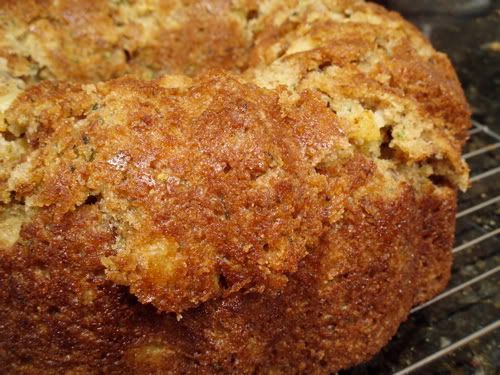
Basmati Rice Risotto (as printed on the back of Cache River Rice)
Printable Version
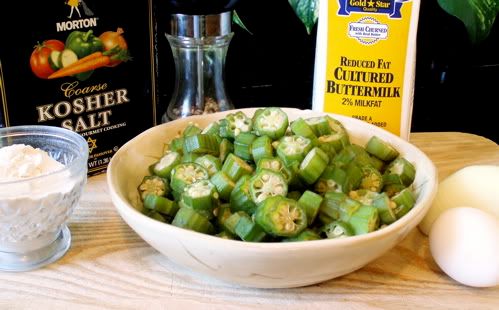
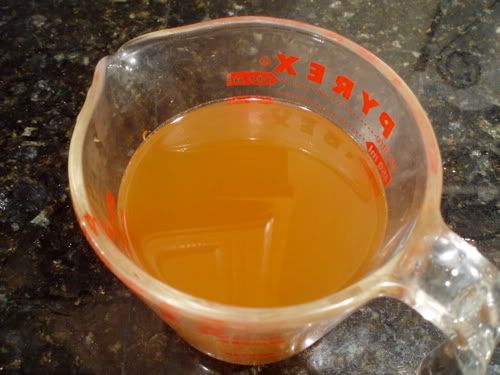
1 can Beef Consomme
1 dan French Onion Soup
1 4oz can sliced mushrooms
1 1/3 cup Basmati Rice
1/2 cup melted butter
2 Tablespoons (or more) grated Parmesan Cheese
Preheat your oven to 350'F and grease a 2 1/2 qt casserole dish.
Mix all of the ingredients together, except for the cheese (although Jen mixed in a little extra cheese with these ingredients. I didn't) in a greased 2 1/2 qt. casserole dish. Cover and bake for 30 minutes. Stir and continue cooking for another 30 minutes.
Fluff with a fork and sprinkle with Parmesan Cheese
Serve and enjoy all those fantastic flavors!! If you're lucky enough to have leftovers....enjoy it again.
Ok..now that our tummies are full of some good food....let me tell you about this first challenge.
Ready, Set....BLOG!!!
This is where I tell you about myself and why I'd be a good candidate as the "Next Food Blog Star".
Do you know how hard it is to "sell yourself?" But that's what I'm here to do.
Food has been an important part of my family life since I can remember. Even back in the days when my food focus was what was advertised on the cereal box. I couldn't understand why the cereal I picked out didn't really include the strawberries that were shown. And did I really have to eat all of the cereal? Even though I picked all of the marshmallow shapes out of the box while watching Saturday morning cartoons?
Fast forward a few years...and there I am with my friends in the kitchen trying to "invent" a new candy. Mixing chocolate and peanut butter and whatever else was in the cupboard....sugar, syrup, honey.....anything sweet.
A couple more years later, and I remember being 14 yrs old and mom working part time a few days a week. I'd call her when I got home from school and she'd walk me through a recipe so that we'd have dinner ready by the time she got home. Do you remember creamed tuna and peas served on toast? What about sweet and sour meatballs? Yep...that was the beginning of it all.
And of course there were the summers spent in Alabama with my grandparents where I learned the pride in making what one grew in the garden and seeing it prepared on the dinner table. Green beans, okra, creamed corn.
Food has always been the center of my family get togethers. Holidays and birthdays consisted of home cooked food, prepared by all and enjoyed. Picking and tasting as it cooked...being shooed out of the kitchen....a playful slap on the hand as it came out of pan with a tasty morsel.
There was no formal training for me. Just the hands-on, trial and error, determined to do as well as my mom and grandmothers did kind of learning.
I remember before I had children, when my dogs were my "kids".....they weren't allowed in the kitchen when I cooked so they'd sit there, at the kitchen entry (drooling and quivering) and watch me cook. I gave them lessons. What else could I do? I drank my little glasses of sherry while I made meatballs and sweet and sour sauce and explained to my eager doggy students each and every step....in my best Julia Child's voice. (gotta love that sherry for loosening the tongue and the inhibitions).
Not long ago I read the book, The Julie and Julia Project....thus being inspired to start my own food blog. You can't imagine how thrilled I was when the book was made into a movie and I won tickets to the premier in Hollywood!
My blog started off being a therapy of sorts. And it still is....but it's grown into something more meaningful to me. I try to make it enjoyable to read and to reflect a little bit of me...in a silly way. I've been described (in the food section of a little newspaper in Maine) as having an acerbic sense of humor. But it's more than just a place to share my thoughts, my recipes and focus on something other than what's going on in the "real world". My blog has become something I hope to be useful to others. Now and in the future.
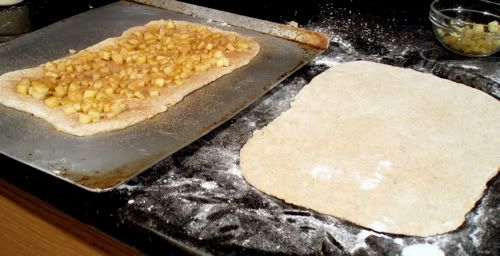
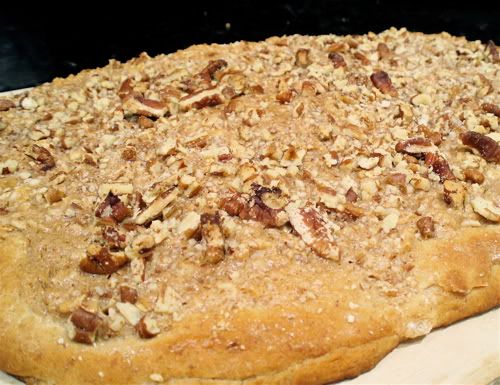
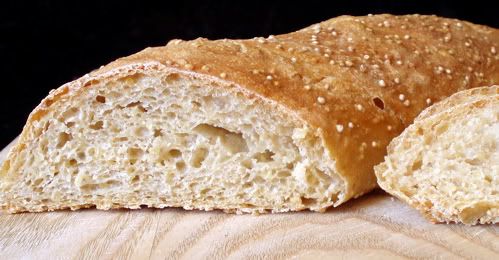
Not only do I cook and bake some very basic, tasty dishes....but I'm willing to try all things new.... challenging recipes that I use to be afraid of. I like to show others who are just starting out in the cooking world that it can be done. If you can read and follow directions, you can do it. My bread may not be the prettiest....but I did it. And it's good. I can't ice a cake for the life of me....but that doesn't stop me from trying. If you have the desire, and the time....I know you can do it too.
And I'm not just talking to who ever happens to stumble upon my kitchen creations....I'm talking to my daughters, who will one day be on there own and will be relied upon to provide good meals for their own families. And here they have all the recipes they grew up with....which include step-by-step instructions and most often, photos to assist them.
I think of my blog as the modern day, modern way of handing down the family experiences in the kitchen. Everything at their fingertips. Of course I expect a phone call or two (or way more)...but it's always here when they need it.
So...this blog isn't just about me. It's about sharing, teaching and connecting. It's about food, family, friends and most of all....good times.
So here's to now....and to the future!
CHEERS!!