

This is one of those super tasty, easy dinners. It's satisfying and pretty quick to make. It would be even quicker if you had some leftover cooked chicken on hand.
One of the things that makes this meal so quick and easy is the flavoring packet I used. Now typically, I stay away from seasoning packets. Well...the ones at the local market. What makes the one I used here an exception? It's organic. No GMO's, no pesticides, no preservatives, no insecticides, no irradiation, do food dyes. So what we have here...is quality AND convenience. All neatly wrapped up in one.
Where can you get Wildtree products? From my friend Michele (whom by the way is responsible for me starting a blog, and joining Facebook):
Website http://www.mywildtree.com/MICHELEBCOOKS/
Facebook page: https://www.facebook.com/michelebcooks
She also has a blog: My Italian Grandmother
Mexican Skillet Meal Seasoning contains every flavor you would want in a Mexican dish, such as peppers, onion, garlic, cumin, cilantro, and jalapeno. Its all conveniently packaged for your ease of not only time, but peace of mind. Your meal is loaded with flavor, not time. Aaaaand health is not compromised just because you need 'fast food'.

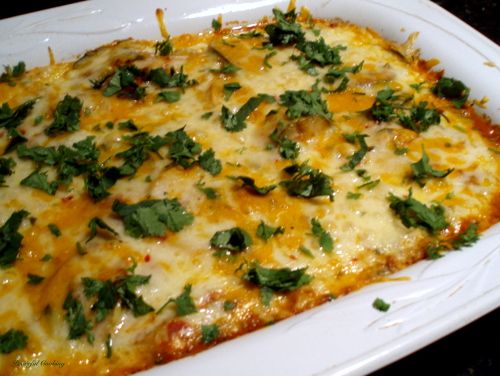
Mexican Chicken Chowder
Printable Version
serves 4 - 6
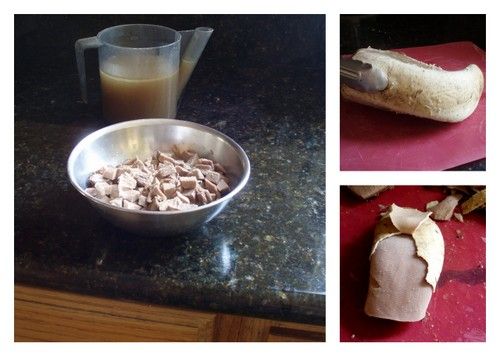
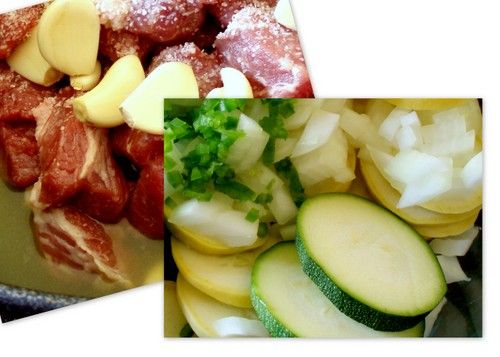
3 good sized boneless, skinless chicken thighs or 2 boneless, skinless chicken breasts, cut into 1 inch chunks
1 tablespoon of light olive oil for sauteing
Salt and Pepper according to taste
4 oz fresh button mushrooms, sliced
1/2 large white onion, diced
3 garlic cloves, minced
1 - 14.5 oz can of chicken broth
1 cup milk
1 packet of Wildtree Mexican Skillet Meal Seasoning
1 - 15.5 oz can of Cannellini Beans, undrained (or any white bean that you prefer)
1 - 7 oz can diced green chiles, mild
Heat oil in a thick bottomed 2 quart sauce pan over medium high heat. Season the chicken with salt and pepper. Add to sauce pan and cook, stirring occasionally, until brown on all sides and almost cooked through, about 8 - 10 minutes (less if you're using chicken breast). Remove from pan and set aside.
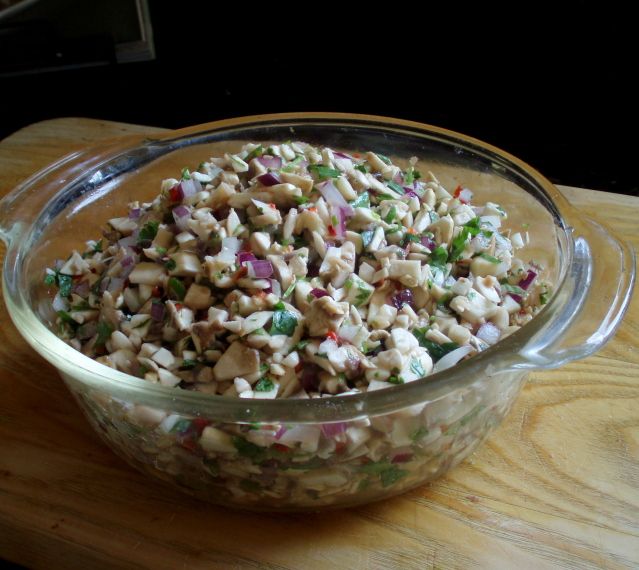
Reduce the heat to medium, add a bit more oil to the pan if needed. Toss in the mushrooms and onions. Stir to coat with oil and saute until tender, about 3-5 minutes. Add the garlic and saute an additional minute.
Pour in the chicken broth and stir, scraping up any bits off the bottom and along to sides.
Reduce the heat to medium low. Add the milk and the Wildtree Mexican Skillet Meal Seasoning. Stir to combine.
If you have a stick blending (immersion blender) put that baby to use and puree what's in the pan. Otherwise, either leave it as is, or puree it in a blender, only filling the blender half full and covering with a towel (may have to work in batches).
Once pureed, add the cooked chicken back into the pan along with the cannellini beans and the diced green chili. Stir and continue cooking until heated through.

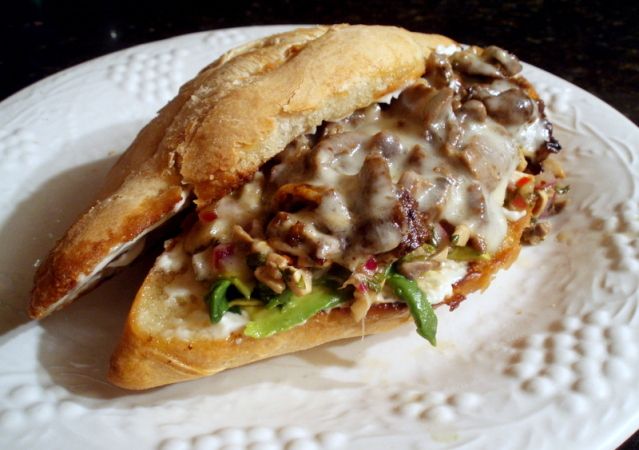
Garnishment recommendations are endless:
Avocado
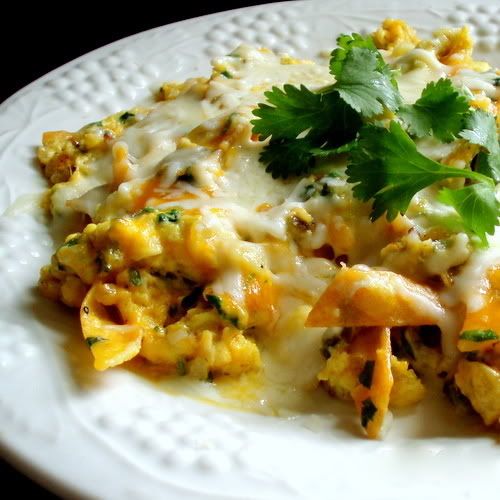
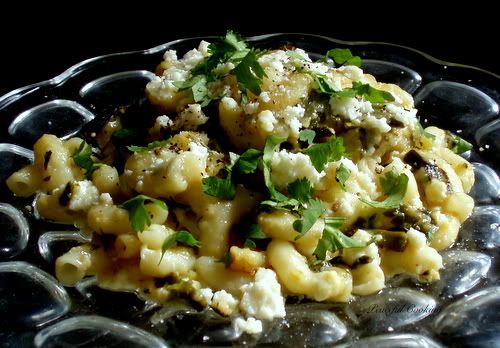
Cilantro
Cheese
Tomatoes
Green Onions
Tortillas
Tortilla Chips
Jalapenos
Whatever your little heart desires. (I had mine with a margarita, but I don't think that is considered a garnishment).
This recipe is similar to a white chili that I make, that's either made in the crock pot, or for quite a bit more time on the stove. The Wildtree Mexican Skillet Meal seasoning give this baby that boost of flavor that so often is lacking in quick meals. It's sure to be a family favorite. It's not spicy, although if heat is your thing, add a dash or 2 or more of cayenne pepper to spice it up a bit.


