It is a Bean-tastic Sunday and I've got a wonderfully easy, tasty and healthy spread for you that even a non-bean lover, like myself, would enjoy. I'm not saying I hate beans, but there are some that I really don't prefer. And there are some that are pretty darn good. I'm not sure if it's a texture thing or what but I have to say, I prefer bean spreads such as hummus and other dips over whole beans.
But...because beans are so good for you, being low in saturated fat, cholesterol and sodium and high in fiber, protein, folate, magnesium and iron, I do try to include them in my menu on occasion.
If I'm going to be honest, I must admit that beans are really versatile. They can go in soups and stews, salads, or just as a stand alone side. Why, they can even be an ingredient in a dessert (especially if you include the vanilla bean). Proof of this is in the line-up we have for you today, which you will find at the bottom.
I really love the combination of tomatoes and basil is this spread. They bring such a freshness to the palate that offsets the hardiness of the beans, while the olives have the supporting role of balance with their salty tang.
You will notice that the ingredients calls for the tomatoes to be seeded. Plum tomatoes have very few seeds and "juice" (which is also why they are preferred in salsas). If you don't remove the seeds for this spread, it will be too runny. So please, do not skip this simple step.
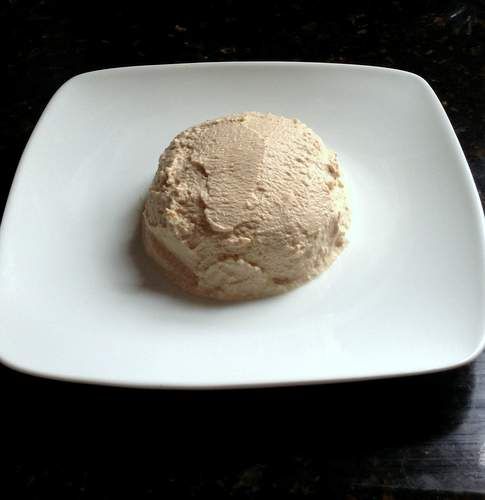
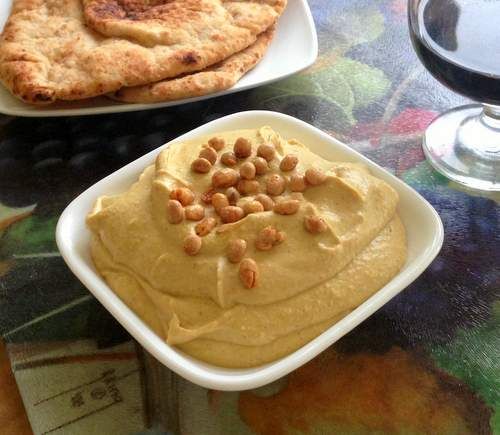
White Bean and Basil Spread
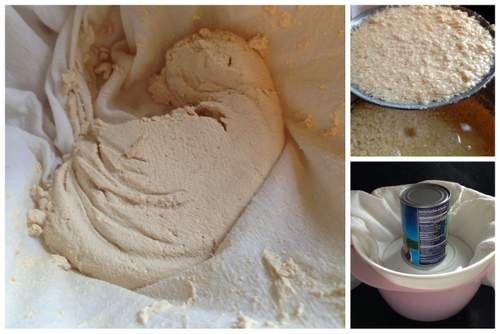
Recipe from: What Can I Bring by Anne Byrn1 15 oz can great northern beans, drained
3 plum tomatoes, seeded and chopped, divided (about 1 1/2 cups)
1/3 cup pitted green olives, coarsely chopped
4 tablespoons extra virgin olive oil
1/4 chopped fresh basil, plus more to garnish
1 tablespoon minced garlic
1/4 cup crumbled feta cheese (I used a tomato and basil seasoned feta)
salt to taste, if needed
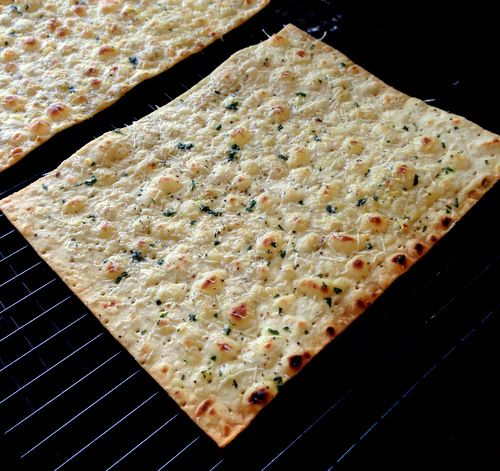
3 - 4 dozen toasted slices of french bread
Place the beans and garlic in a food processor and process until smooth. add 1 1/4 cups of the tomatoes (saving the rest to garnish with) olives, olive oil, and basil and pulse until everything is finely chopped but not completely smooth. Stir in some salt if needed.
This can be stored in the fridge for up to 2 days.
Just before serving, garnish with the cheese, remaining tomatoes and some basil. Serve with the toasted bread slices.

Beantastic Beginners:
- Avocado Hummus by Our Good Life
- Bean Ragoût and Crisped Mushrooms by Culinary Adventures with Camilla
- Black Bean Chili Nachos by Brunch with Joy
- Chickpea Fries (Panisse) by Curious Cuisiniere
- Five Layer Greek Hummus Dip by Food Done Light
- Pizza Roasted Chickpeas by A Kitchen Hoor's Adventures
- Roasted Garlic and Black Pepper Hummus by Rants From My Crazy Kitchen
- White Bean and Basil Spread by Peaceful Cooking
- Butternut Squash White Bean Soup by Magnolia Days
- Chickpea and Bean Soup by Momma's Meals
- Classic Cassoulet by Food Lust People Love
- Navy Bean & Kale Soup by An Appealing Plan
- Navy Bean Soup by The Messy Baker
- Slow Cooker Pork and Bean Stew by Nosh My Way
- Slow Cooker White Bean Kielbasa Stew by Cosmopolitan Cornbread
- Spicy Sausage, White Bean and Spinach Soup by Bobbi's Kozy Kitchen
- Bean and Cornbread Salad by MealDiva
- Clams with Black Beans by A Day in the Life on the Farm
- Gluten Free Green Bean Casserole by Gluten Free Crumbley
- Gold Rush Baked Beans by Lifestyle Food Artistry
- Italian Beans and Greens by Simply Healthy Family
- Maple Brown Sugar Baked Beans by Carrie's Experimental Kitchen
- Pinto Beans With Cornbread Croutons by Nik Snacks
- Whiskey Bacon Baked Beans by Sew You Think You Can Cook
- Arugula Tomato and Beans Flatbread by Family Foodie
- Bean and Bacon Tacos by Jane's Adventures in Dinner
- Beefy Lima Bean Casserole by Cindy's Recipes and Writings
- Colombian Red beans - Frisoles Antioquenos by Palatable Pastime
- Honey-Lime Black Bean and Sweet Potato Tacos by The Chunky Chef
- One Pot Tuscan Style Garlic Herb Pork Chops by Hezzi-D's Books and Cooks
- Orecchiette with White Beans and Swiss Chard by Delaware Girl Eats
- Skillet Black Beans and Pork by Cooking Chat
- Ultimate Chili Stuffed Sweet Potatoes by Pancake Warriors
- White Bean Ragout, Frisèe, and a Fried Egg by The Wimpy Vegetarian
- Chocolate Covered Espresso Bean Bark by Love and Confections
- Flourless Almond Joy Cookie Dough Ball by Cupcakes & Kale Chips
- Flourless Mocha Brownies by That Skinny Chick Can Bake
- Gluten-Free Black Bean Brownies by Wallflour Girl
- Gluten-Free Donuts by NinjaBaker
- Pecan Praline Black Bean Brownies by Rhubarb and Honey
- Soy Awesome Cookies 2.0 by What Smells So Good?
- Strawberry Coco-Cacao Bean Smoothie by Dandelion Greens
- Sweet Bean Pie by Shockingly Delicious
- Vanilla Bean Creme Brulee by Noshing With The Nolands
 Join the #SundaySupper conversation on twitter on Sunday! We tweet throughout the day and share recipes from all over the world. Our weekly chat starts at 7:00 pm ET. Follow the #SundaySupper hashtag and remember to include it in your tweets to join in the chat. To get more great Sunday Supper Recipes, visit our website or check out our Pinterest board.
Would you like to join the Sunday Supper Movement? It’s easy. You can sign up by clicking here: Sunday Supper Movement.
Join the #SundaySupper conversation on twitter on Sunday! We tweet throughout the day and share recipes from all over the world. Our weekly chat starts at 7:00 pm ET. Follow the #SundaySupper hashtag and remember to include it in your tweets to join in the chat. To get more great Sunday Supper Recipes, visit our website or check out our Pinterest board.
Would you like to join the Sunday Supper Movement? It’s easy. You can sign up by clicking here: Sunday Supper Movement.


.JPG)

.JPG)
.JPG)