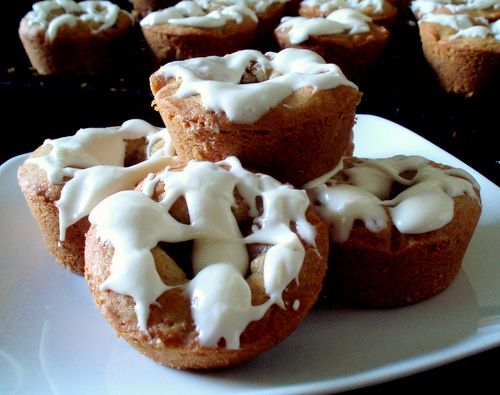
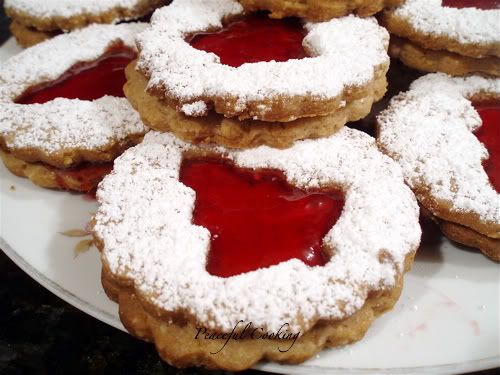
Yep...these are cookies. Not cupcakes. Cookies. Very delicious. Very big.....cookies. They're big like a cupcake but made like a cinnamon roll....with a cinnamon, brown sugar filling and icing on top and everything. Think....cookie falls in love with a cinnamon roll and has a baby. Does it get any better than
that?
What makes it a cookie? The dough of course. It's not a bread dough. It's cookie dough. (mmmm....cookie dough)
Last weekend as I was looking through the food section of the Los Angeles Times, the heading...'Sweet tooth satisfaction' caught my eye. And boy, they weren't lying. Of course I made them the very next day. When I told the girls at work that I was bringing them in, one said they were all for her. Another said she'd bring milk (which she did and quickly chilled the milk in the freezer). Before noon, all of the cookies were gone.
Note: this is a time consuming cookie to make. I made the cookie dough and got through to the assembling part one afternoon and baked them the next day. You
can do it in one day but start early.
Cinnamon Roll Cookies
Printable Version
Cookie dough
1 cup butter
1/2 cup sugar
1 cup brown sugar
1/4 cup powdered sugar
3 eggs
2 teaspoons vanilla extract
3 cups plus 1 tsp unbleached flour
1 tsp ground cinnamon
1/4 cup cornstarch
1 tsp baking powder
1/2 tsp baking soda
1/2 tsp salt
Filling
1 cup toasted pecans, chopped
1/2 cup brown sugar
1/4 cup butter, melted
1 TB cinnamon
Glaze
2 oz cream cheese, softened
2 TB butter, softened
1 cup powdered sugar, sifted
1 tsp vanilla (recipe said vanilla bean scraped, which I didn't have)
Zest of 1/2 orange, optional (I opted out)
3 TB milk
Make the dough:
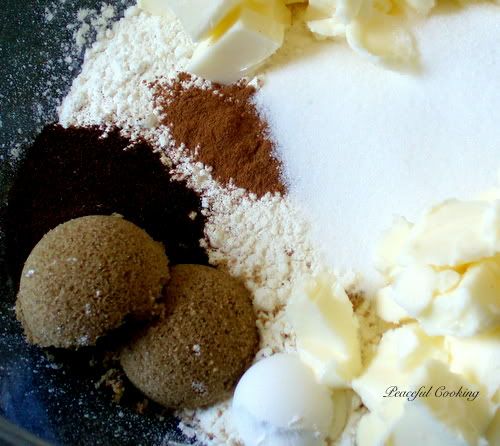
In a large bowl, cream together the butter, sugar, brown sugar and powdered sugar. Beat in the eggs, one at a time until combined thoroughly. Beat in the vanilla extra. Set aside.
In another large bowl, whisk together the dry ingredients; flour, cinnamon, cornstarch, baking powder, baking soda and salt.
Slowly beat the dry ingredients into the wet ingredients that you had set aside. Mix until just combined but don't over mix.
Remove the dough from the bowl and wrap with plastic wrap. Place in the refrigerator to chill for at least an hour.
Make the filling:
Just before you remove the cookie dough from the refrigerator, mix together the ingredients for the filling (pecans, brown sugar, melted butter and cinnamon) in a small bowl until well combined.
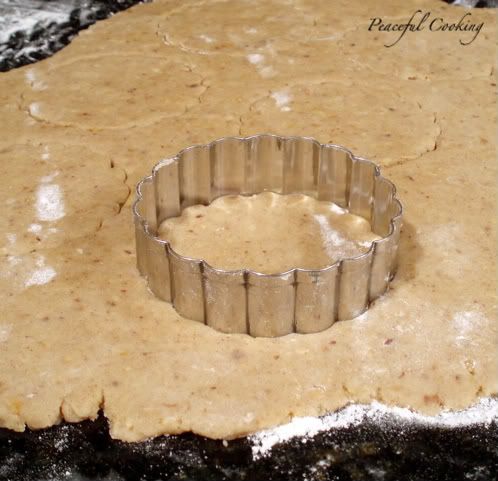
Assembling the cookie:
Flour your work surface. Turn the dough onto the surface and roll out to a 10" x 10" square. Evenly spread the filling over the dough. Gently, and carefully roll the dough into a tight log. Wrap the lop with plastic wrap and chill for at least an hour. Overnight would be better.
Note: I used my bench cutter to help me roll the dough into a log. It was a hot day and the dough was softening up pretty quickly. Plus it wanted to stick to my counter, even with the flour. Also, once the dough is wrapped in plastic, I placed the log on a tray to support it as I carried it to the fridge.
Baking the cookies
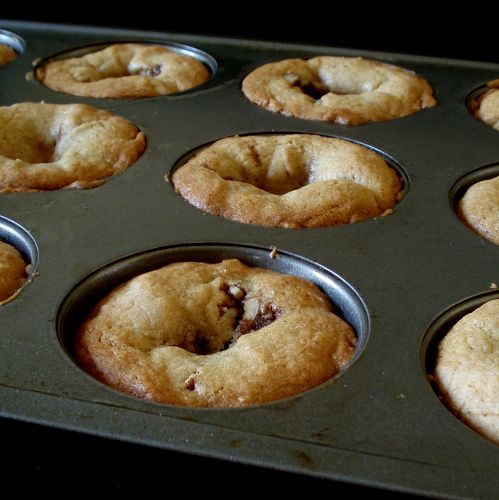
When you're ready to bake your cookies, grease 2 muffin tins (12 cups each). You'll be making 24 cookies. I don't trust those cooking sprays for these types of things so I used shortening.
Preheat your oven to 350' F
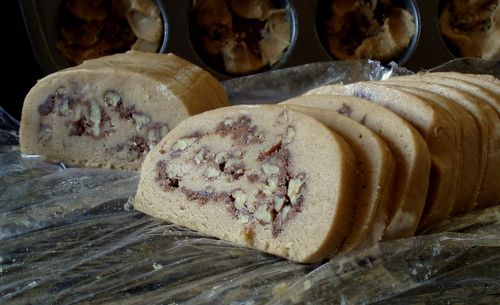
Remove the dough from the refrigerator and cut into 1/2' slices. Place each slice into a muffin cup.
As you can see, my log didn't come out perfectly round. It was very....umm...oblong-ish. So I took each slice and kinda squished it's sides in, gently, to force them into some resemblance of a "round". Then
placed forced them into the muffin cups. If you haven't figured it out by now...I'm not into "perfect". Or maybe perfect isn't into me. Either way....it rarely happens. Lets just say I've learned to embrace 'rustic'.
Bake the cookies for about 15 minutes or until slightly browned, rotating the pan once halfway through, for even baking.
Allow to cool
in the muffin cups.
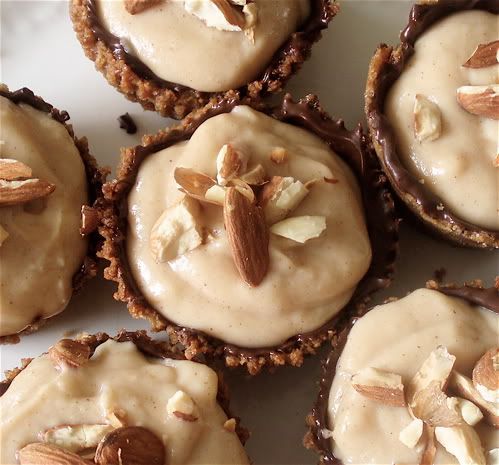
Making the glaze:
In a large mixing bowl, cream together the cream cheese and butter. Slowly beat in the powdered sugar. Beat in the vanilla. Add enough milk until the glaze is smooth and thick.
Use a knife if needed (to help release the edges and sides) and gently, carefully remove the cookies from the muffin cups. Use a fork to generously drizzle the glaze over the cookies.
Eating the cookies
Now, get out a tall glass of ice cold milk and grab one. Quick...before they're all gone.